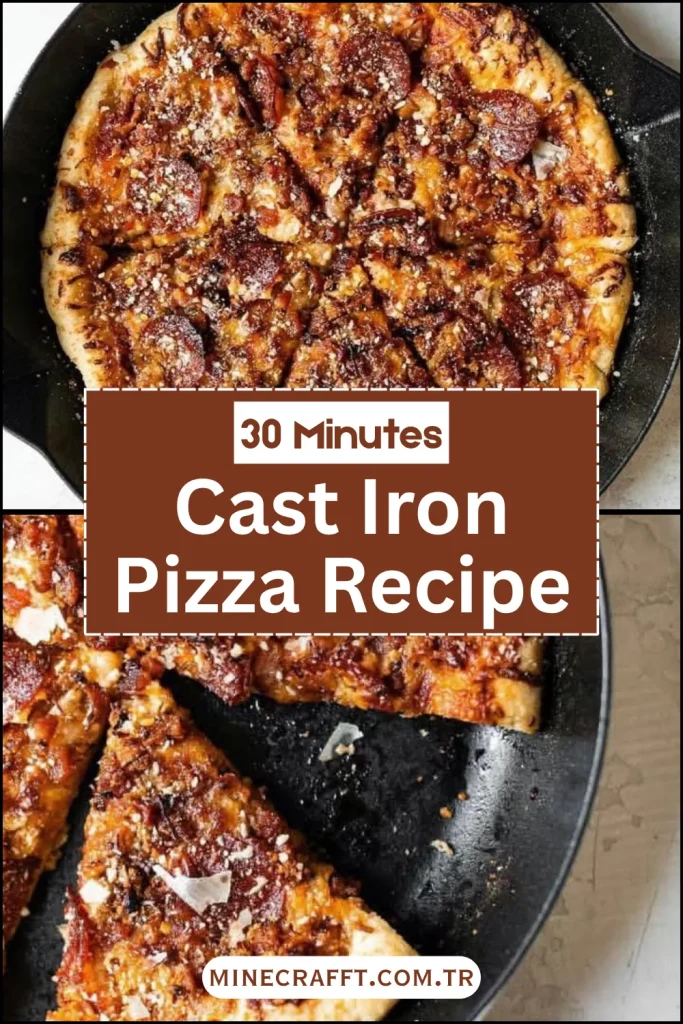
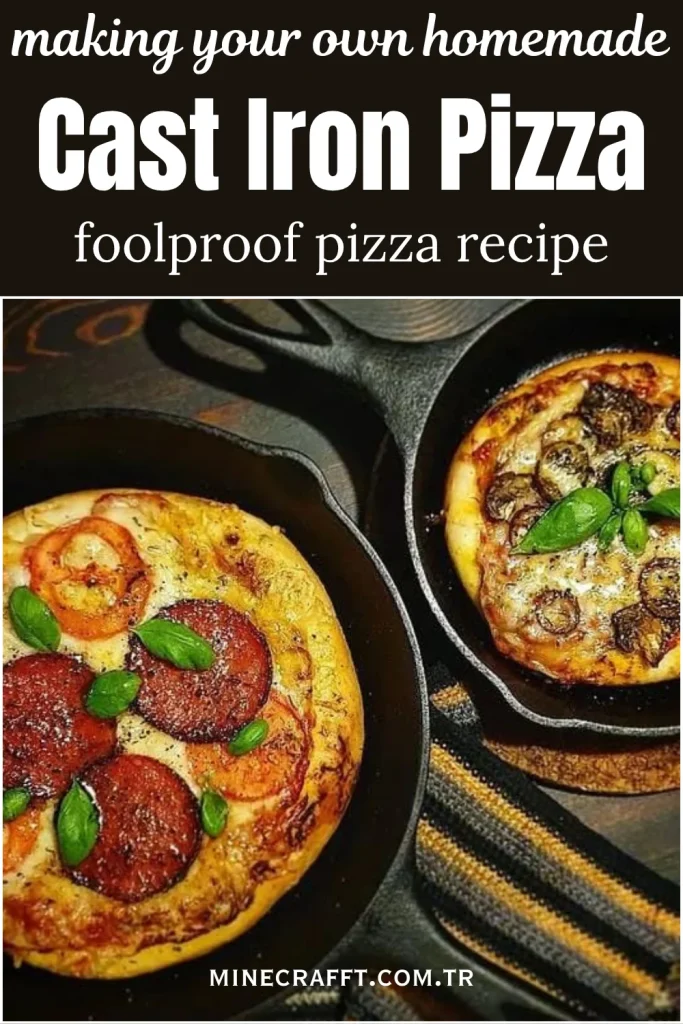
Crispy Cast Iron Pizza Recipe – Golden Crust, Cheesy Perfection & Easy Homemade Dough
What is Cast Iron Pizza?
Cast iron pizza is a rustic-style pizza baked directly in a cast iron skillet, known for its ultra-crispy, golden crust and soft, chewy interior. The thick iron walls conduct and retain heat evenly, mimicking the intense conditions of a brick oven — the secret to restaurant-quality pizza made right at home. This recipe combines simple pantry ingredients, a homemade dough that’s soft yet crisp on the edges, and a perfectly balanced tomato sauce layered with cheese and your favorite toppings.
The beauty of cast iron pizza lies in its texture — crispy bottom, fluffy middle, gooey cheese, and slightly caramelized edges. Unlike traditional thin-crust pizzas, this version has more body, making it hearty and satisfying. It’s ideal for quick weeknight dinners or weekend gatherings and requires minimal equipment.
Beyond flavor, this pizza offers decent nutritional benefits: high protein from cheese and whole wheat dough, complex carbs for energy, and customizable toppings for added nutrients. It’s a perfect balance between comfort and smart eating.
Nutritional Overview (per 1 slice, assuming 8 slices total)
- Calories: ~285 kcal
- Protein: 12 g
- Carbohydrates: 28 g
- Fat: 13 g
- Saturated Fat: 5 g
- Sodium: 420 mg
- Fiber: 2 g
- Sugars: 4 g
When made with whole-grain flour, part-skim cheese, and olive oil, this pizza can be both indulgent and heart-friendly. The homemade crust avoids excess preservatives and sodium often found in store-bought doughs.
Recipe Yield and Time
- Yield: One 12-inch pizza (8 slices)
- Prep Time: 20 minutes
- Rest Time (Dough Rise): 1 hour
- Cook Time: 15–20 minutes
- Total Time: 1 hour 40 minutes
Also read: Crispy Almond Flour Pizza Crust Recipe
Main Ingredients and Quantities (With Explanations)
For the Pizza Dough
- All-Purpose Flour – 2 cups (250 g)
The base of your dough, providing structure and chew. You can substitute half the flour with bread flour for a slightly more elastic crust or with whole wheat flour for added fiber and nutrition. - Warm Water – ¾ cup (180 ml)
Hydrates the flour and activates the yeast. The temperature should be around 100°F (38°C) — warm to the touch but not hot, as heat can kill yeast. - Active Dry Yeast – 2 ¼ teaspoons (7 g or one packet)
The leavening agent that makes the dough rise and creates airy pockets. Ensure your yeast is fresh and active by proofing it before mixing. - Sugar – 1 teaspoon (4 g)
Feeds the yeast during activation, helping it ferment faster and improving flavor complexity in the dough. - Olive Oil – 2 tablespoons (30 ml)
Adds moisture, tenderness, and crispiness to the crust. It also gives that golden sheen when the pizza is baked in the skillet. - Salt – 1 teaspoon (6 g)
Enhances flavor and strengthens the gluten structure for a well-balanced dough.
For the Sauce
- Crushed Tomatoes – 1 cup (240 g)
The base of the sauce. Opt for San Marzano tomatoes if available — they’re naturally sweet and low in acidity, perfect for pizza. - Garlic – 2 cloves, minced (6 g)
Adds aromatic depth and savory flavor to the sauce. - Olive Oil – 1 tablespoon (15 ml)
Helps sauté the garlic and enhances the richness of the sauce. - Dried Oregano – ½ teaspoon (1 g)
Provides the classic Italian herb note associated with pizza. - Salt – ½ teaspoon (3 g)
Balances the acidity of tomatoes. - Sugar – ¼ teaspoon (1 g)
Softens the sharpness of the tomato flavor without making the sauce sweet.
For the Toppings
- Mozzarella Cheese – 2 cups (200 g), shredded
The essential melty, stretchy cheese that gives pizza its signature pull. Use low-moisture mozzarella for best browning. - Parmesan Cheese – ¼ cup (25 g), grated
Adds nutty sharpness and umami depth, balancing the mild mozzarella. - Pepperoni (optional) – ½ cup (50 g)
Traditional and flavorful topping; substitute with grilled veggies or chicken for a lighter version. - Fresh Basil – 5–6 leaves, torn
Introduces freshness and a fragrant, authentic Italian aroma. - Olive Oil – 1 tablespoon (15 ml)
Drizzle before baking for extra crispness and golden edges.
For the Pan
- Olive Oil or Butter – 1 tablespoon (15 ml)
Used to grease the skillet; it prevents sticking and helps create that perfectly crisp crust bottom. Butter adds a subtle richness, while olive oil gives a cleaner taste.
How to Prepare (Step-by-Step, Paragraph Form)
Step 1: Activate the Yeast
In a small bowl, combine warm water, sugar, and yeast. Stir gently and let it sit for about 5–10 minutes until it becomes frothy and bubbly — this means the yeast is alive and ready. If no bubbles appear, discard and start with new yeast. Proper activation ensures your dough rises beautifully and develops flavor during resting.
Step 2: Mix the Dough
In a large bowl, combine the flour and salt. Make a well in the center and pour in the activated yeast mixture along with olive oil. Using a wooden spoon or your hands, mix until the dough starts to come together. The dough should feel soft, slightly tacky but not sticky. If too dry, add a tablespoon of warm water at a time; if too wet, dust with a bit more flour.
Step 3: Knead the Dough
Transfer the dough onto a lightly floured surface. Knead it for about 8–10 minutes, pushing and folding until smooth and elastic. The kneading process develops gluten, giving the crust its chewy texture. When ready, the dough should bounce back when pressed lightly with a finger.
Form the dough into a ball, place it in a lightly oiled bowl, cover with a damp cloth or plastic wrap, and let it rest in a warm spot for about 1 hour, or until doubled in size.
Step 4: Prepare the Sauce
While the dough rises, make the tomato sauce. In a small saucepan, heat olive oil over medium heat. Add minced garlic and sauté for about 30 seconds until fragrant (do not brown). Add crushed tomatoes, oregano, salt, and sugar. Stir and simmer uncovered for about 10 minutes, letting it thicken slightly. Set aside to cool. A thicker sauce prevents soggy crusts during baking.
Step 5: Preheat the Oven and Skillet
Preheat your oven to 475°F (245°C) with the cast iron skillet inside. This preheating step ensures an ultra-crisp bottom crust. After 10–15 minutes, carefully remove the hot skillet using oven mitts and lightly brush with olive oil or butter.
Step 6: Shape the Dough
Once your dough has doubled in size, punch it down gently to release air bubbles. Transfer it to a lightly floured surface and roll into a 12-inch circle — roughly the size of your cast iron skillet. If you prefer a thicker crust, roll to about 10 inches. Carefully place the dough into the hot, oiled skillet. Press the dough outwards so that it slightly climbs the sides; this helps form those delicious, crisp edges as it bakes.
Allow the dough to rest in the pan for 5 minutes — the heat from the skillet starts to cook the bottom, creating a golden, slightly blistered foundation. This pre-sear is what makes cast iron pizza so irresistible compared to baking sheets or pizza stones.
Step 7: Assemble the Pizza
Spread the tomato sauce evenly over the dough using the back of a spoon, leaving about 1 inch of crust around the edge. Sprinkle mozzarella cheese generously over the sauce, followed by Parmesan. Add your chosen toppings — pepperoni, mushrooms, bell peppers, olives, or anything you love. Finish with a drizzle of olive oil over the top for shine and browning.
This layering method ensures even melting and crisping, while olive oil prevents the cheese from drying out at high heat. If you’re using delicate greens like basil or arugula, save them for after baking to retain their fresh flavor.
Step 8: Bake Until Golden and Crisp
Transfer the skillet to the oven and bake for 15–18 minutes, or until the cheese is bubbly and the crust turns a rich golden brown. For a darker, extra-crispy edge, broil for the final 1–2 minutes — but watch closely to prevent burning. When done, remove from the oven and let it rest for 5 minutes before slicing. The cooling time allows the cheese to set slightly, making clean slices easier.
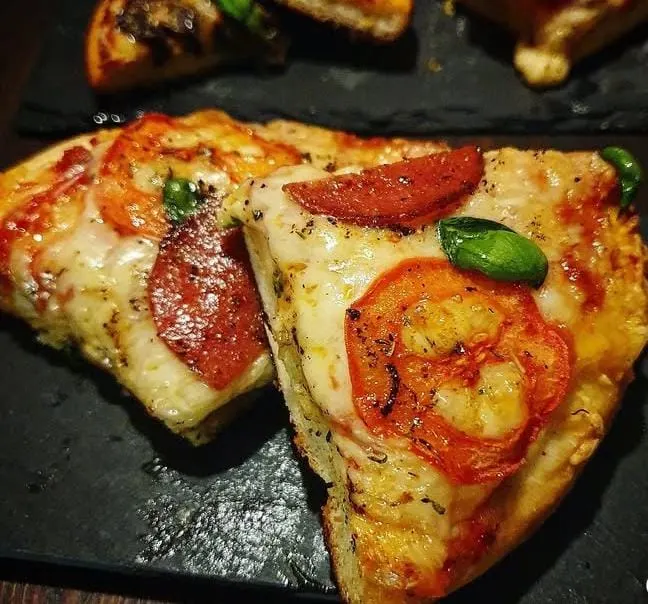
Step 9: Slice and Serve
Use a thin metal spatula to gently loosen the edges of the pizza from the pan. Slide it onto a cutting board and slice into 8 equal wedges. Garnish with torn basil leaves or a drizzle of olive oil. The result? A pizza that’s crisp on the outside, fluffy inside, perfectly cheesy, and deeply flavorful — everything a homemade pizza should be.
Healthy Habits: Making Your Cast Iron Pizza Lighter
Cast iron pizza can easily fit into a balanced lifestyle with small adjustments. Instead of white flour, try 50% whole wheat flour to add fiber and nutrients while maintaining chewiness. Use olive oil instead of butter for heart-healthy fats, and opt for low-fat mozzarella or even part-skim ricotta for a lighter topping.
Load your pizza with colorful vegetables like spinach, mushrooms, onions, and bell peppers. These toppings not only add texture and flavor but also pack vitamins and antioxidants. Reducing pepperoni or sausage in favor of grilled chicken or tofu can cut saturated fat significantly while keeping the protein high.
Baking instead of frying, using homemade sauce (low in sugar and salt), and controlling portion size all make a big difference. One slice of this pizza can be enjoyed guilt-free as part of a balanced meal — pair it with a crisp salad or vegetable soup for the perfect dinner combination.

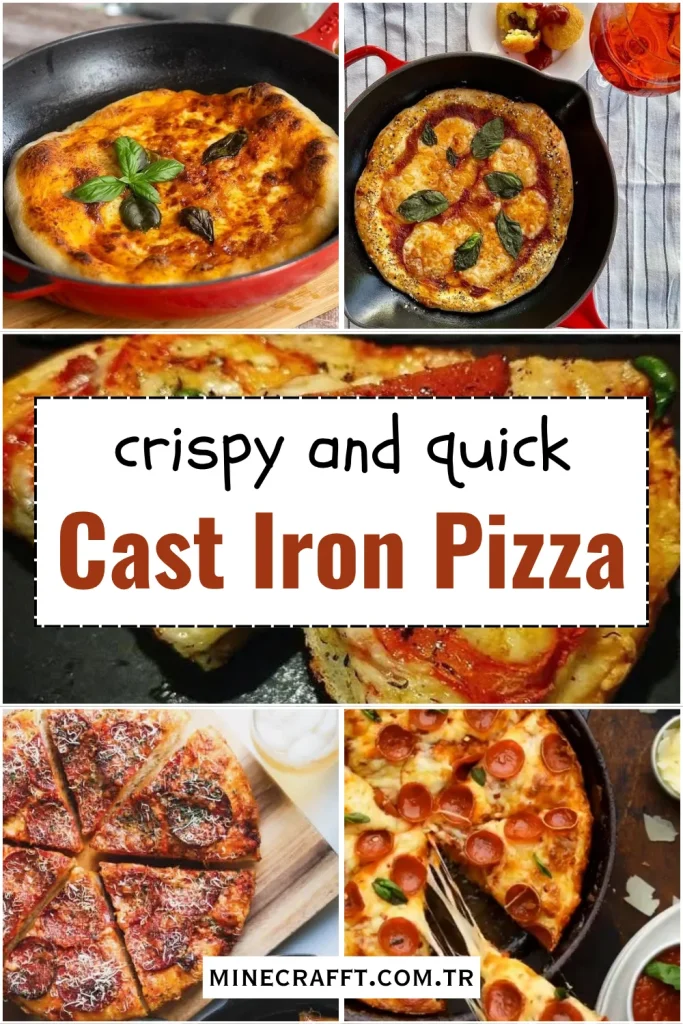
Variations of Cast Iron Pizza
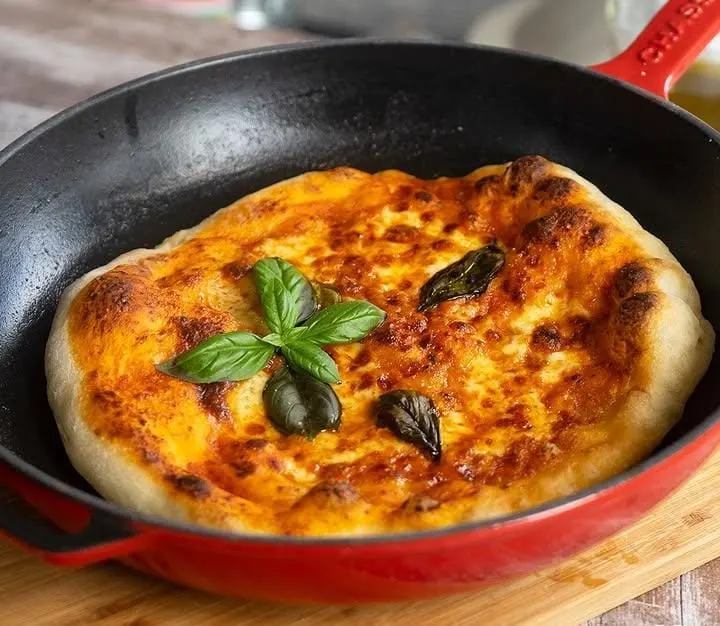
1. Margherita Cast Iron Pizza
Paragraph 1:
The classic Margherita never goes out of style — simple, pure, and beautifully balanced. For this version, spread a thin layer of tomato sauce on your dough, top with slices of fresh mozzarella and scatter torn basil leaves over the surface. Drizzle lightly with extra-virgin olive oil and sprinkle a pinch of sea salt. Bake until the cheese melts into creamy puddles and the crust blisters golden brown.
Paragraph 2:
This pizza celebrates simplicity — no heavy toppings, just quality ingredients. Use fresh mozzarella for the best melt and authentic Italian taste. The contrast between crispy edges, soft interior, and bright basil aroma captures the essence of Naples, right in your skillet. Serve hot with a drizzle of balsamic glaze for a gourmet finish.
2. BBQ Chicken Cast Iron Pizza
Paragraph 1:
For a smoky-sweet twist, swap tomato sauce for ½ cup of your favorite BBQ sauce. Top with shredded cooked chicken breast, thinly sliced red onion, and mozzarella cheese. Sprinkle a handful of cilantro leaves after baking for freshness. The heat from the skillet caramelizes the sauce slightly, creating a deep, savory flavor profile with a hint of sweetness.
Paragraph 2:
This variation works beautifully for outdoor gatherings or casual dinners. You can even use leftover grilled chicken to save time. To make it healthier, use low-sugar BBQ sauce or make your own with honey and smoked paprika. Serve this pizza with coleslaw or roasted vegetables for a full meal bursting with flavor.
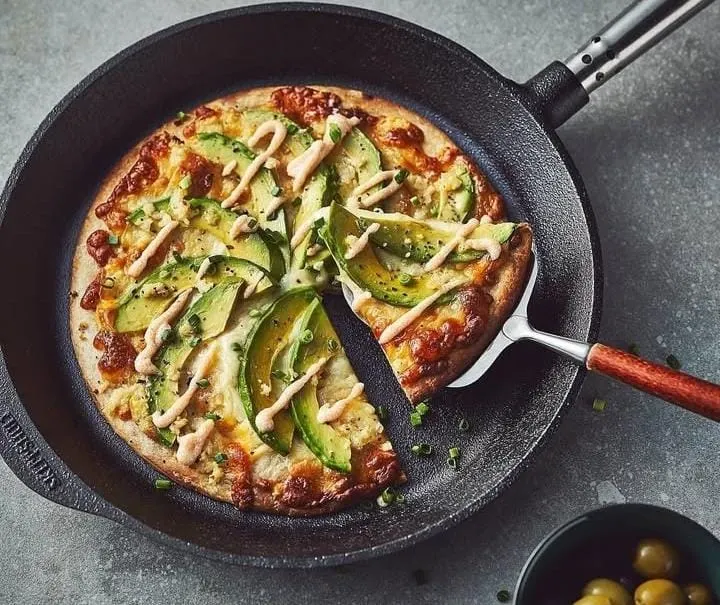
3. Veggie Supreme Cast Iron Pizza
Paragraph 1:
Load your dough with color and nutrients using a variety of vegetables. Spread tomato sauce, add a layer of mozzarella, then top with thinly sliced bell peppers, red onions, mushrooms, cherry tomatoes, and spinach. Sprinkle a bit of feta or Parmesan for extra depth. The high heat of the skillet enhances the natural sweetness of the veggies while maintaining their crunch.
Paragraph 2:
This version is not only vegetarian but also packed with vitamins and fiber. Drizzle olive oil before baking for a glossy finish and toss on a few arugula leaves after baking for a peppery bite. It’s proof that healthy and indulgent can coexist beautifully on one plate.
4. White Garlic Cast Iron Pizza
Paragraph 1:
Instead of tomato sauce, brush the dough with olive oil and spread a thin layer of ricotta mixed with minced garlic and a pinch of salt. Add mozzarella and Parmesan, and top with sautéed spinach or roasted mushrooms. Bake until bubbly and slightly golden on the edges. The garlic-infused base gives this pizza a creamy, aromatic profile that feels luxurious yet simple.
Paragraph 2:
After baking, drizzle with a little olive oil and a sprinkle of crushed red pepper for contrast. This white pizza pairs wonderfully with a crisp white wine or sparkling water with lemon. It’s the perfect recipe for those who love rich flavors without tomato acidity.
Pro Tips for Perfect Cast Iron Pizza
- Preheat the skillet — A hot pan is the secret to crispy, golden crusts.
- Avoid overloading toppings — Too many can weigh down the dough and cause sogginess.
- Use fresh, quality cheese — Low-moisture mozzarella gives a better melt.
- Rest before slicing — This prevents cheese from sliding off and keeps slices neat.
- Reheat in the skillet — To revive leftovers, heat for 3 minutes on low flame; the crust will regain its crispness perfectly.
Storage and Reheating
Cool leftovers completely before storing. Keep in an airtight container in the refrigerator for up to 3 days. For best results, reheat slices directly in the skillet over low heat for 3–5 minutes or in a 375°F oven for 5–7 minutes. Avoid microwaving, as it softens the crust.
Conclusion
This Cast Iron Pizza Recipe offers everything pizza lovers dream of — crisp, golden edges, a chewy center, melted cheese, and customizable toppings, all from your kitchen stove and oven. The cast iron skillet transforms a simple dough into a restaurant-quality pizza with depth of flavor and texture unmatched by traditional baking sheets.
With its endless variations — from Margherita to BBQ Chicken — this pizza is more than a recipe; it’s a canvas for creativity. Whether you’re cooking for a cozy night in or entertaining guests, the aroma, flavor, and satisfaction of a freshly baked cast iron pizza make it a timeless favorite. Homemade never tasted this good.