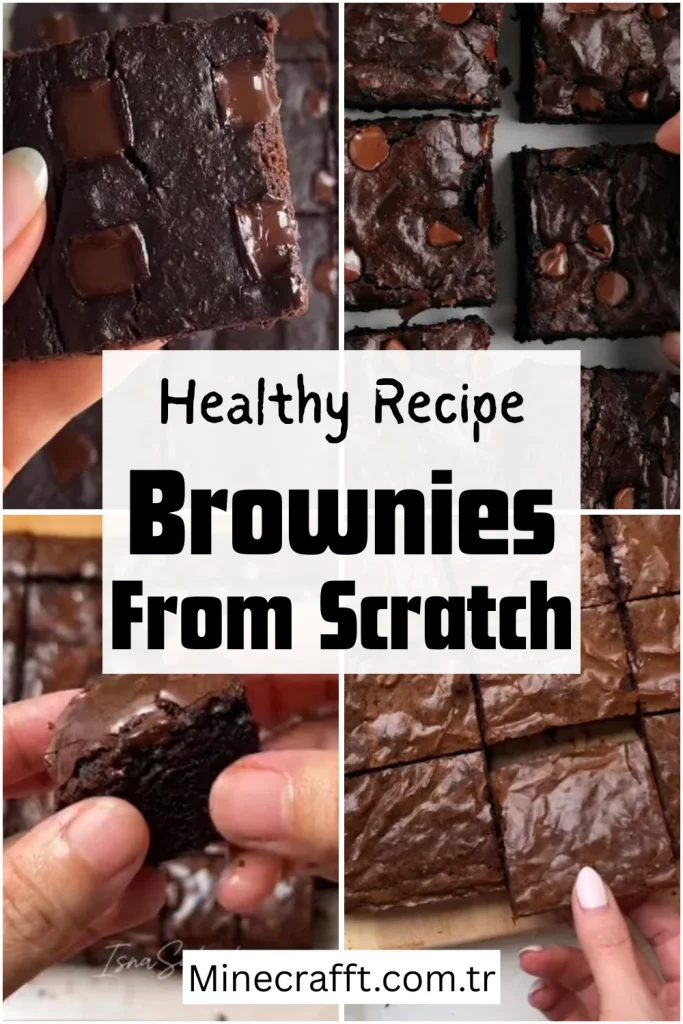
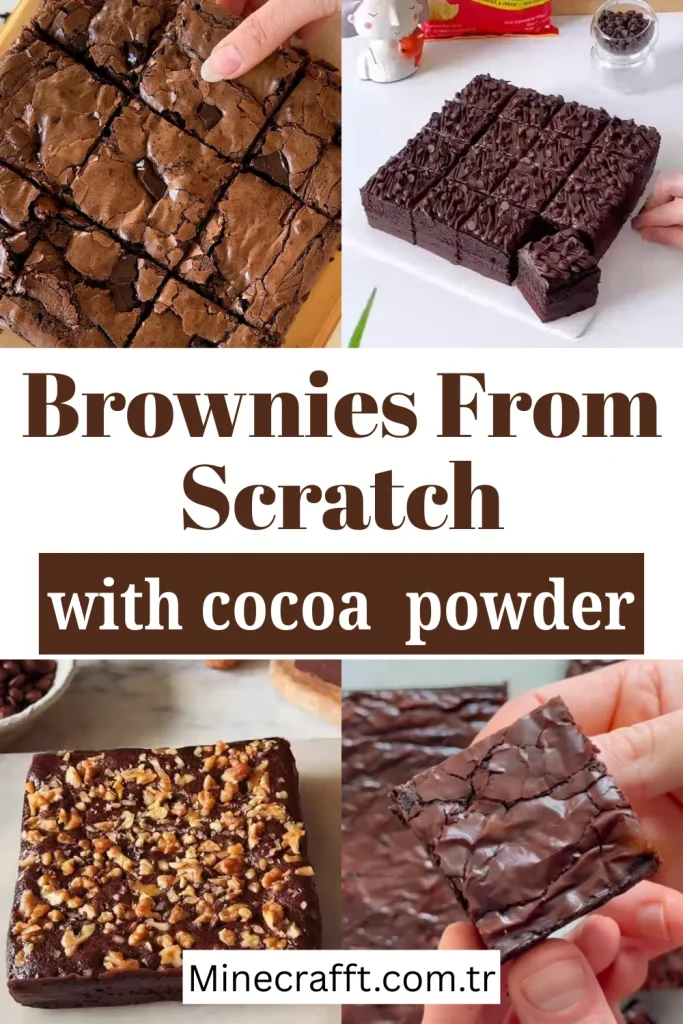
Brownies from Scratch With Cocoa Powder — Easy, Decadent, Pinterest-Worthy Recipe (No-Bake Mix Needed)
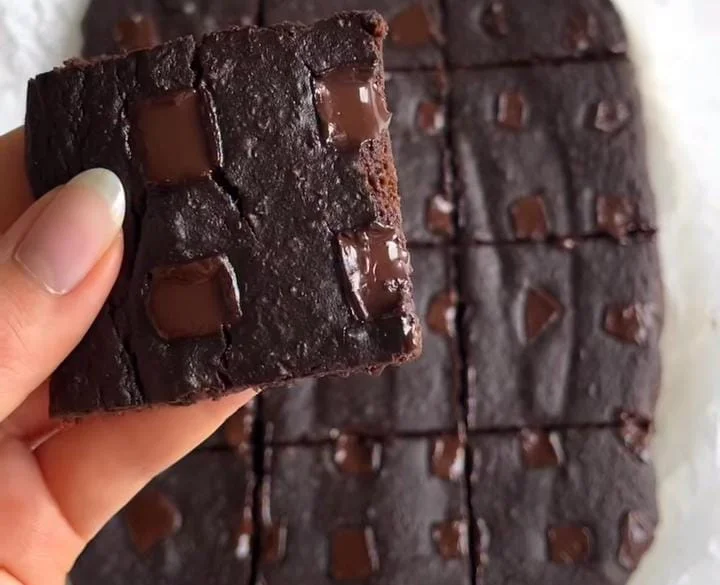
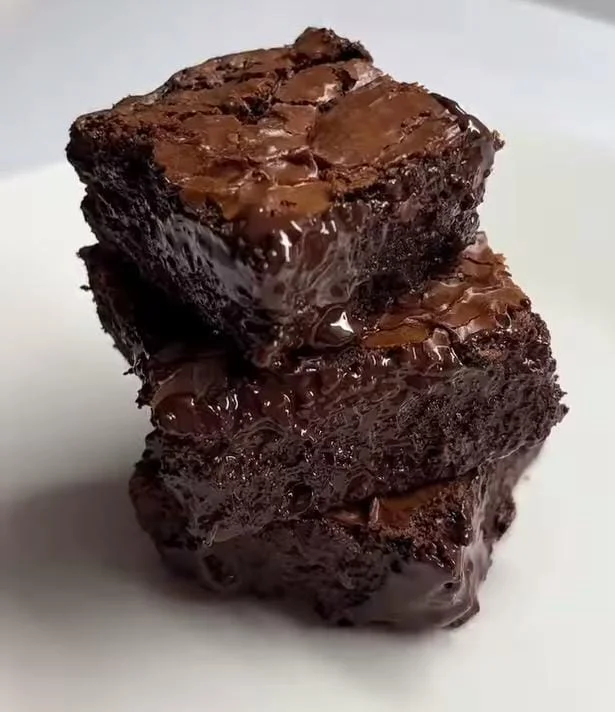
Brownies made from pure cocoa powder are a classic home-baked treat that balance deep chocolate flavor with a dense, fudgy texture. Unlike recipes that rely on melted chocolate bars or boxed mixes, this cocoa-powder-first version uses unsweetened cocoa to deliver an intense chocolate backbone while giving you total control over sweetness, fat, and add-ins.
This article walks you through what makes these brownies delicious, explains the nutritional profile, lists every ingredient with precise measurements for a 9×13-inch pan, and gives step-by-step preparation guidance so even novice bakers can achieve consistently excellent results.
Quick Overview of the Recipe Yield and Time
Yield: 12 generous square brownies (9×13-inch pan or equivalent)
Total time: 50–65 minutes (20 minutes active prep, 30–45 minutes baking + cooling)
Pan: 9×13-inch rectangular baking pan, greased and parchment-lined
Nutritional Snapshot (Per Serving Approximate)
Each brownie contains calories, macronutrients and micronutrients that vary by the specific brands and optional add-ins you use. Typical approximate per-serving values: 300–360 kcal, 14–20 g fat, 36–44 g carbohydrates, 4–6 g protein. Cocoa powder contributes antioxidants (flavanols), iron, magnesium and small amounts of fiber. Eggs provide complete protein, B vitamins, and choline.
Also try: Eggless Brownies
Butter supplies vitamin A and saturated fats, while sugar increases carbohydrate content and energy density. Nuts or chocolate chips change macro balances, adding healthy fats and protein or additional sugar and saturated fat, respectively. If you need exact numbers for dietary planning, weigh your final batch and input exact ingredient brands into a nutrition calculator.
Main Ingredients of Brownies From Scratch— What Each Does and Why It Matters
All-purpose Flour — Structure and Texture
All-purpose flour (240 grams, or 2 cups) forms the structural matrix of the brownie, binding with eggs and starches to give chew and hold. Measuring accurately by weight yields the most consistent results; if using cups, spoon into the measuring cup and level off to avoid compacting. Flour provides proteins that, when lightly developed, create the pleasant chew of a brownie; if overmixed, gluten becomes more prominent and the brownie turns cakier.
Also try: Chocolate Shortbread
Unsweetened Cocoa Powder — Chocolate Intensity and Color
High-quality unsweetened cocoa powder (85 grams, or 3/4 cup) gives concentrated chocolate flavor without added sugar or fat. Natural cocoa and Dutch-processed cocoa react differently with leaveners: natural cocoa is acidic and pairs well with baking soda, while Dutch-process is neutral and pairs better with baking powder or no leavener. For classic fudgy brownies choose natural cocoa to encourage slight lift and the traditional glossy top; choose Dutch-process if you prefer a darker color and a slightly mellower chocolate profile.
Granulated Sugar — Sweetness and Crust Formation
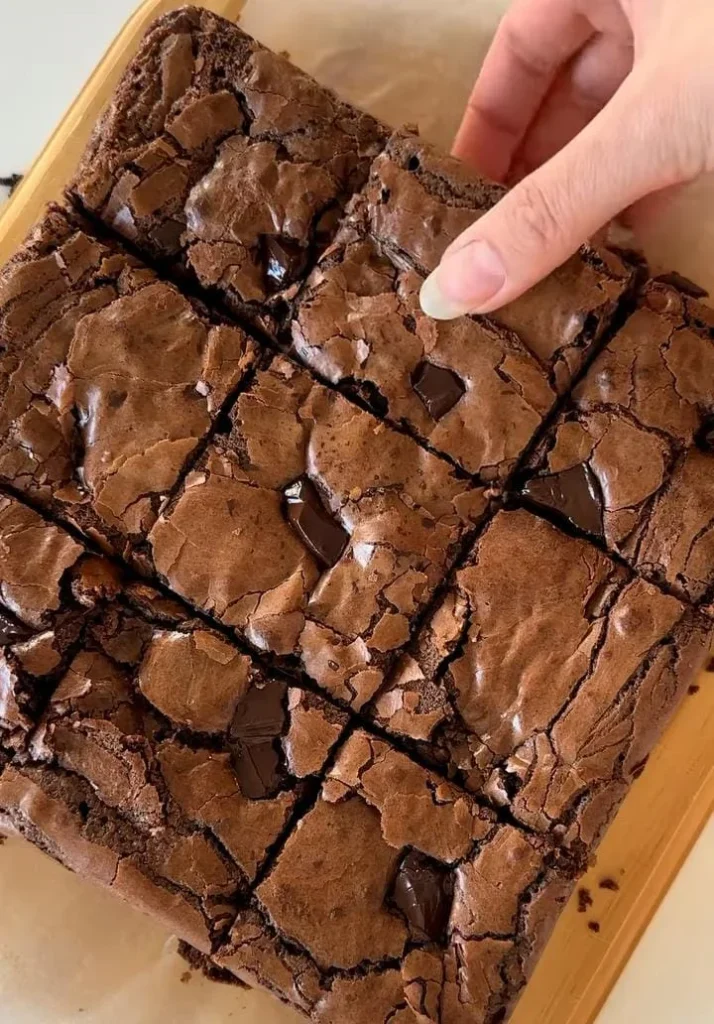
Granulated white sugar (360 grams, or 1 3/4 cups packed) sweetens the batter and contributes to the shiny, crackly top typical of brownies. Sugar also helps with moisture retention; some bakers combine white and light brown sugar to introduce chewiness and a hint of molasses. Sugar dissolves into the warm butter-and-egg mixture, which is a key step to creating that signature crust.
Eggs — Emulsification, Structure, and Shine
Large eggs (4 eggs, approximately 200 grams without shells) are essential for structure and richness. Eggs trap air during mixing, coagulate during baking to set the crumb, and help create the glossy crust when sugar dissolves into the egg proteins. Egg yolks add fat and emulsifiers that contribute to fudginess; egg whites contribute structure. Use room-temperature eggs for better emulsification and more uniform baking.

Unsalted Butter — Flavor, Mouthfeel, and Fat
Unsalted butter (170 grams, or 3/4 cup / 12 tablespoons) brings richness and a silky mouthfeel. Melted butter yields a denser, fudgier texture than creamed butter because it coats flour proteins and limits gluten development. Using unsalted butter gives you control over sodium; add the salt separately to balance flavors. If you prefer a neutral oil, refined coconut oil or a neutral vegetable oil can be used but expect slight flavor and texture differences.
Salt — Flavor Enhancer
Fine salt (1 teaspoon) enhances chocolate flavor while balancing sweetness. Salt is small in volume but crucial for depth—don’t skip it. If using salted butter, reduce the added salt slightly and taste the batter (raw tasting is safe in small amounts for texture checks).
Vanilla Extract — Aroma and Flavor Rounding
Pure vanilla extract (2 teaspoons) rounds out flavors and accentuates chocolate notes. Use pure extract or a high-quality imitation, but avoid artificial vanilla if you can; pure vanilla gives subtler, longer finish that complements cocoa rather than competing with it.
Baking Powder or Baking Soda — Optional Lift
Baking powder (1 teaspoon) or baking soda (1/2 teaspoon) is optional depending on desired texture. For fudgier, dense brownies, skip leaveners entirely or use a very small amount of baking powder for gentle lift. If you use natural cocoa and want slight expansion, 1/2 teaspoon baking soda works with the acidity to produce a modest rise. Note that significant leavening yields cakier texture.
Optional Add-ins — Texture and Flavor Variations
Chopped nuts (1 cup), chocolate chips (1 cup), espresso powder (1 teaspoon), or dried fruit (3/4 cup) can be folded in to customize texture and flavor. Add-ins change nutrient content and moisture—nuts will increase fat and protein, while chips add sugar and saturated fat. Consider toasting nuts before folding them in for a deeper, nuttier aroma.
Exact Quantities for the Whole Recipe (9×13-inch pan — yields ~12 brownies)
- All-purpose flour: 240 g (2 cups)
- Unsweetened cocoa powder: 85 g (3/4 cup)
- Granulated sugar: 360 g (1 3/4 cups packed)
- Large eggs: 4 (about 200 g)
- Unsalted butter: 170 g (3/4 cup; 12 tablespoons), melted
- Salt: 1 teaspoon
- Pure vanilla extract: 2 teaspoons
- Baking powder: 1 teaspoon (optional) or baking soda: 1/2 teaspoon (only if using natural cocoa and want lift)
- Optional: chocolate chips: 1 cup (170 g) or chopped walnuts: 1 cup (100 g)
How to Prepare Brownies from Scratch — Step-by-Step
Preparation: Equipment and Preheating
Preheat your oven to 350°F (175°C). Position a rack in the center of the oven for even baking. Line a 9×13-inch pan with parchment paper leaving an overhang on two sides for easy removal; lightly grease the paper. Gather measuring tools: kitchen scale, dry measuring cups, liquid measuring cup, mixing bowls, whisk, rubber spatula, and an offset spatula for spreading the batter. Having everything assembled before you begin—mise en place—makes the process smoother.
Sifting and Combining Dry Ingredients
Sift together the all-purpose flour, unsweetened cocoa powder, salt, and baking powder (if using) into a medium bowl. Sifting removes lumps from cocoa and aerates the flour slightly, which helps with even mixing and prevents dark pockets of cocoa. Whisk the dry mixture for 20–30 seconds to distribute ingredients uniformly. If using Dutch-process cocoa, omit baking soda unless another acid is present.
Melting Butter and Dissolving Sugar
In a heatproof bowl set over a saucepan of simmering water or in short bursts in the microwave, melt the unsalted butter until fully liquid but not browned. Remove from heat and stir in the granulated sugar so the sugar begins to dissolve; slightly warmed sugar will incorporate more completely into the batter and helps form the crackly top. If you prefer a chewier texture, substitute 50–100 g of the granulated sugar with light brown sugar and mix until homogeneous.
Tempering and Beating Eggs with Flavorings
Crack the eggs into a separate bowl and whisk lightly to break them up. Add the vanilla extract and, if using, espresso powder dissolved in a tablespoon of hot water to intensify chocolate flavor without introducing coffee taste.
Slowly whisk the warmed butter-sugar mixture into the eggs while stirring continuously to temper the eggs and prevent curdling. The mixture should become glossy and slightly thickened; vigorous whisking here helps trap small air bubbles that contribute to the texture and top finish.
Combining Wet and Dry Ingredients
Fold about one-third of the dry ingredients into the egg-butter mixture using a rubber spatula. Gently fold in the remainder in two additions until just combined. The goal is a uniform batter without streaks; overmixing will develop gluten and produce cakier brownies. If adding chocolate chips, nuts, or dried fruit, fold them in at this stage using a few gentle strokes so they distribute evenly but the batter remains tender.
Transferring to Pan and Baking
Pour the batter into the prepared 9×13 pan and spread it evenly with an offset spatula, smoothing the top to ensure uniform thickness. Tap the pan gently on the counter a few times to release large air bubbles and level the batter.
Bake in the preheated oven for 28–36 minutes. Start checking at 24 minutes: brownies are done when the edges are set and a thin toothpick inserted near the center comes out with moist crumbs (not wet batter). The top should have a glossy, crackly finish. Oven temperatures vary—learn your oven by checking earlier rather than assuming exact times.
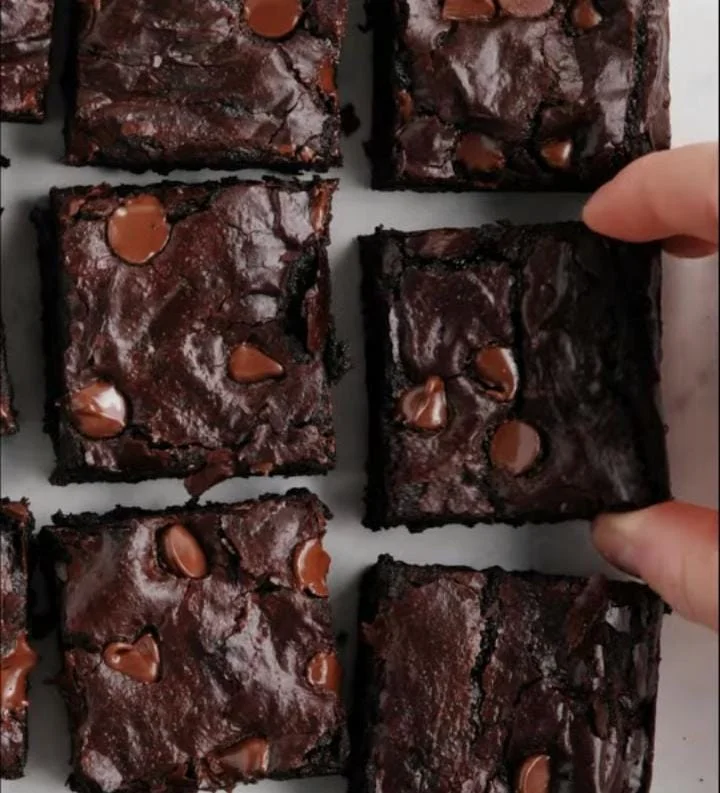
Cooling, Cutting, and Serving
Remove the pan from the oven and allow it to cool on a wire rack for at least 20–30 minutes. Cooling lets the interior set so the brownies slice cleanly. For especially neat squares, chill the cooled brownies in the refrigerator for 30–60 minutes, then lift the parchment overhang to remove the slab and cut with a sharp knife warmed under hot water and wiped dry between cuts. This yields tidy, fudgy squares. Serve at room temperature or slightly warmed with ice cream, a dusting of powdered sugar, or a drizzle of salted caramel.
Tips for Perfect Texture
- Use melted butter for fudgy brownies, creamed butter for cakier.
- Measure flour by weight to avoid dryness and inconsistent results.
- Don’t overbake; remove when a toothpick shows moist crumbs, not runny batter.
- Room-temperature eggs incorporate more evenly and produce better emulsion.
- Let brownies cool before cutting to let the interior finish setting; chilling helps if you want clean slices.
Healthy Habits and Baking Mindset
Baking can fit into a balanced lifestyle when approached thoughtfully. Portion control matters: cut brownies into smaller squares if sharing across more servings to manage calorie intake. Consider swapping half the butter for unsweetened applesauce or mashed banana to reduce saturated fat while maintaining moisture; expect a change in flavor and texture toward a softer, more cake-like crumb.
Use dark cocoa and add a teaspoon of instant espresso to deepen flavor so you can reduce sugar by about 10–20% without sacrificing perceived sweetness. When serving, pair a small brownie with fresh fruit or unsweetened Greek yogurt to add fiber and protein and to moderate the overall glycemic impact of the treat.
Variations — Easy, Flavorful Twists
1) Salted Caramel Swirl Brownies
Fold small ribbons of homemade or store-bought thick caramel sauce into half the brownie batter, then swirl gently with a knife to create veining before baking. When using caramel, reduce sugar by about 50 g to prevent excessive sweetness, and be mindful that caramel’s moisture can slightly lengthen baking time. Sprinkle flaky sea salt atop the batter before baking for a balanced sweet-and-salty contrast that highlights the cocoa.
For a richer version, layer a thin blanket of caramel between two thinner layers of brownie batter for a pronounced caramel center. Bake until set and cool completely so the caramel firms slightly; chill briefly for cleaner slices. These bars are intensely decadent and best served in small portions with a scoop of vanilla ice cream or a dollop of whipped cream.
2) Espresso Fudge Brownies
Dissolve 1 teaspoon instant espresso powder in a tablespoon of hot water and add to the wet ingredients to amplify chocolate notes without tasting like coffee. Add 1 cup dark chocolate chips to the batter and distribute evenly for pockets of molten chocolate within the fudgy matrix. Reduce sugar slightly if using sweetened chocolate chips to maintain balance and avoid cloying sweetness.
Serve these brownies warm to enjoy the molten chocolate pockets and intensified cocoa aroma. For a café-style finish, dust lightly with cocoa powder or confectioners’ sugar and pair with an espresso or latte. The bitterness from coffee elevates dark cocoa and reduces the need for excess sugar, creating a sophisticated dessert ideal for adult gatherings.
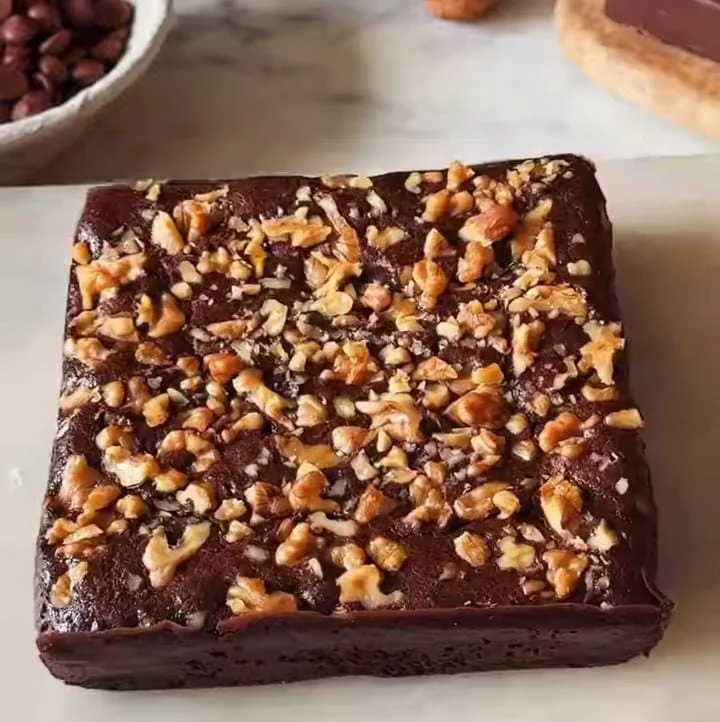
3) Nutty Dark Chocolate Brownies
Fold 1 cup chopped toasted walnuts or pecans into the batter for crunched contrast and nutty aroma. Toasting nuts for 5–8 minutes at 350°F (175°C) enhances oils and intensifies flavor—cool them before adding to the batter to preserve texture. Optionally mix in 1/2 cup chopped toasted hazelnuts and a teaspoon of coarse salt across the top for a gourmet appearance.
Nuts add healthy fats, fiber, and pleasant chew; they also stretch the batch by adding volume and richness. For extra elegance, drizzle melted dark chocolate across the cooled bars and sprinkle additional chopped nuts. These brownies pair well with a glass of milk or a creamy dessert wine and make a popular choice for holiday platters.
4) Gluten-Reduced Almond Cocoa Brownies
Replace half the flour with finely ground almond flour (120 g all-purpose + 120 g almond flour) to reduce gluten and add moistness. Almond flour contributes a tender crumb and subtle nutty flavor—because it is denser, reduce baking time slightly and check doneness earlier. Add an extra egg yolk for more richness and structure without adding gluten.
These brownies become more tender and slightly crumbly but remain deeply chocolatey; they are ideal for those limiting wheat but not strictly gluten-free diets. For a fully gluten-free version, use a tested 1:1 gluten-free flour blend that contains xanthan gum or add 1/4 teaspoon xanthan gum per cup of blend to help mimic gluten’s binding. When using nut flours, store finished brownies in the refrigerator for best texture retention.
Storage and Reheating
Store cooled brownies in an airtight container at room temperature for 2–3 days. For longer storage, freeze individual squares wrapped tightly in plastic wrap and foil for up to three months; thaw at room temperature while wrapped to retain moisture. To reheat, microwave a single brownie for 8–12 seconds to restore softness, or warm in a 325°F (160°C) oven for 8–10 minutes. If storing with frostings or perishable toppings, refrigerate and consume within 3–4 days.
Troubleshooting Common Issues
If brownies turn out dry: you likely over-measured flour or overbaked; shorten baking time and measure flour by weight. If texture is cakey: reduce mixing and consider reducing or omitting baking powder. If the top is not glossy: dissolve sugar better into the warm butter and ensure eggs are well whipped into the mixture. If brownies collapse: underbaking or sudden cooling can cause sinking; allow gradual cooling at room temperature and avoid opening the oven excessively during baking.
Final Thoughts: Make the Recipe Your Own
This cocoa-powder-focused brownie recipe is a versatile, reliable template for making intensely chocolatey, fudgy bars at home. By understanding the role of each ingredient and using accurate measurements and gentle technique, you’ll consistently produce brownies with a rich interior and a shiny, crackly top. Experiment with add-ins, portion sizes, and ingredient swaps to find your personal favorite. Baking is part science, part intuition—this guide gives you the science so your intuition can take the lead. Enjoy the process, and share the results.