Crispy Coconut Shrimp Recipe: Golden, Crunchy, and Irresistible Restaurant-Style Appetizer
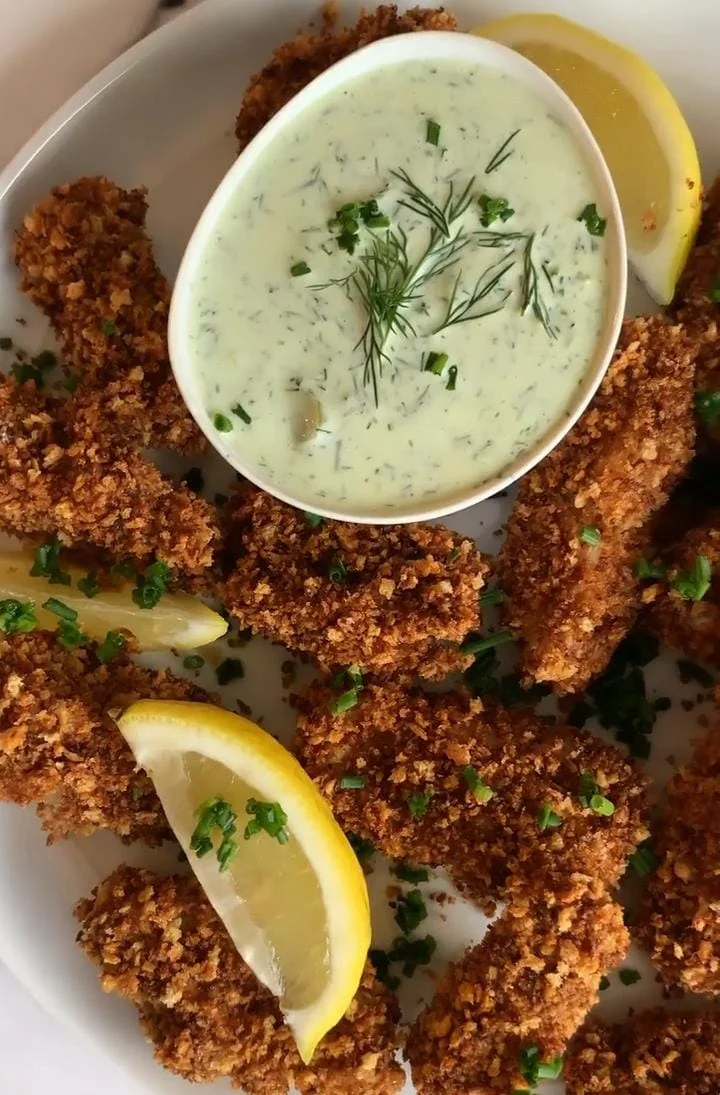
There are recipes that remind you of sunshine, tropical breezes, and celebrations—and coconut shrimp is definitely one of them. With its golden, crunchy coating of shredded coconut wrapped around juicy, tender shrimp, it’s a dish that instantly feels special. People order it at restaurants as a treat, but the truth is, you can recreate the exact same flavor and texture in your own kitchen with simple ingredients.

The beauty of this recipe lies in its contrast: the natural sweetness of coconut, the savory seasoning on the shrimp, and that perfect crunch when you bite in. It’s not just food—it’s an experience of indulgence, a little escape from the ordinary.
Also Read: Delicious Low Carb Desserts
What Is Coconut Shrimp?
Coconut shrimp is a popular appetizer or party dish where peeled shrimp are coated in a batter of flour, eggs, breadcrumbs, and shredded coconut before being fried—or sometimes baked or air-fried—until crispy and golden. It’s often served with dipping sauces like sweet chili, orange marmalade, or tangy pineapple sauce, which balance the rich, crunchy coating.
The dish has tropical roots, often associated with coastal cuisine, where coconut and seafood are plentiful. While restaurants often charge a premium for coconut shrimp, the homemade version is fresher, tastier, and customizable to your liking.

Main Ingredients Of Coconut Shrimp Recipe
- Shrimp – The star of the recipe. Large or jumbo shrimp are best since they’re meaty and hold up well to breading. They should be deveined and peeled, but keeping the tail on adds both flavor and presentation. Fresh shrimp gives the best texture, but high-quality frozen shrimp works too.
- Coconut Flakes – Unsweetened shredded coconut provides the crunch without making the dish overly sugary. Some people prefer sweetened coconut for a dessert-like version, but unsweetened balances the savory shrimp better.
- Breadcrumbs or Panko – These combine with the coconut to create the crispy coating. Panko breadcrumbs are lighter and give a crunchier texture, while regular breadcrumbs make a denser crust.
- Flour – A light dusting of flour helps the egg wash stick to the shrimp and prevents the coating from falling off during frying. All-purpose flour works perfectly.
- Eggs – Whisked eggs act as the binding agent, helping the coconut and breadcrumbs cling tightly to the shrimp.
- Seasonings – A simple mix of salt, pepper, garlic powder, and paprika enhances the natural flavor of shrimp while balancing the sweetness of coconut.
- Oil – Neutral oils like canola, peanut, or vegetable oil are best for frying, as they heat evenly without overwhelming the coconut flavor.

How to Prepare Coconut Shrimp Recipe (Step by Step)
Making coconut shrimp at home is easier than most people think, but the secret to achieving restaurant-quality results lies in taking your time with each step. It’s not just about coating shrimp and frying—it’s about preparing them properly, building layers of flavor, and ensuring that crunch lasts long after frying. Let’s go through the full process in detail.
Step 1: Prepare the Shrimp
Start with large or jumbo shrimp—they work best because they hold up well to breading and frying. Peel the shrimp, but leave the tail intact for a beautiful presentation and easier handling when eating. Next, devein them by making a shallow slit down the back and removing the dark vein. Rinse briefly under cold water, then lay the shrimp on paper towels to dry thoroughly.
This step is crucial: excess moisture causes oil splatter and prevents the coating from sticking. Once dry, lightly season the shrimp with salt, black pepper, and even a pinch of garlic powder. This early seasoning helps the flavor penetrate the meat instead of sitting only on the crust.
Step 2: Set Up the Breading Station
Now comes the fun part: creating layers for that signature crunch. Take three shallow bowls or plates. In the first, mix flour, paprika, garlic powder, and a touch of cayenne pepper if you like spice. This base layer gives the shrimp a light coating so the egg wash sticks properly. In the second bowl, whisk 2–3 eggs until frothy; this is your glue.
In the third, combine unsweetened shredded coconut and panko breadcrumbs. The coconut gives natural sweetness and aroma, while the panko guarantees a crisp, airy texture. If you want a denser, crunchier bite, use more panko; for a sweeter profile, increase the coconut.
Step 3: Dredge the Shrimp
The breading process is where you build flavor and crunch, so don’t rush it. First, coat each shrimp lightly in the seasoned flour, making sure to cover all sides but shaking off any excess. This prevents the batter from sliding off later. Next, dip the shrimp into the egg wash, ensuring every crevice is coated.
Finally, press the shrimp firmly into the coconut-panko mixture. Don’t just roll it—press gently with your fingers so the coating clings well. Place each finished shrimp on a wire rack while you coat the rest. Letting them rest for 5–10 minutes before frying helps the crust set and stick better.
Step 4: Heat the Oil
Choose a deep skillet, Dutch oven, or heavy-bottom pan for frying. Pour in about 2 inches of neutral oil such as canola, vegetable, or peanut oil. Heat slowly over medium-high until it reaches 350°F (175°C).
Maintaining the right temperature is key: too hot, and the coconut burns before the shrimp cooks; too cool, and the shrimp absorb oil and turn greasy. If you don’t have a thermometer, test by dropping a breadcrumb in the oil—it should sizzle immediately and rise to the surface within 2–3 seconds.
Step 5: Fry in Batches
Gently lower 5–6 shrimp into the hot oil at a time, making sure not to overcrowd the pan. Overcrowding lowers the oil temperature and leads to uneven cooking. Fry shrimp for about 2–3 minutes per side, turning carefully once the first side is golden brown.
The shrimp are done when they’re firm, opaque, and their crust is an even golden hue. Remove them with a slotted spoon and transfer to a plate lined with paper towels or, even better, a wire rack set over a baking sheet. The rack prevents steam from making the shrimp soggy.
Step 6: Serve Hot
Coconut shrimp taste best the moment they’re fried—when the shell is crunchy and the inside is juicy. Arrange them on a platter with dipping sauces for extra flair. Sweet chili sauce is the classic pairing, but don’t hesitate to try mango salsa, pineapple sauce, or even creamy sriracha mayo for a spicy kick.
Garnish with lime wedges and fresh herbs like cilantro for brightness. If serving as part of a meal, plate them alongside coconut rice or a light tropical salad.

How to Serve Coconut Shrimp Recipe
Coconut shrimp isn’t just a snack—it can be the centerpiece of a meal if you serve it creatively. Here are ways to elevate it:
- Classic Appetizer – Pair with sweet chili sauce or a tangy orange marmalade. Arrange shrimp on a platter with dipping bowls in the center for a party-worthy look.
- Tropical Plate – Serve coconut shrimp alongside pineapple fried rice or a light mango salad to bring out tropical flavors.
- Taco Filling – Use coconut shrimp inside warm tortillas with shredded cabbage, lime crema, and salsa for a seafood taco twist.
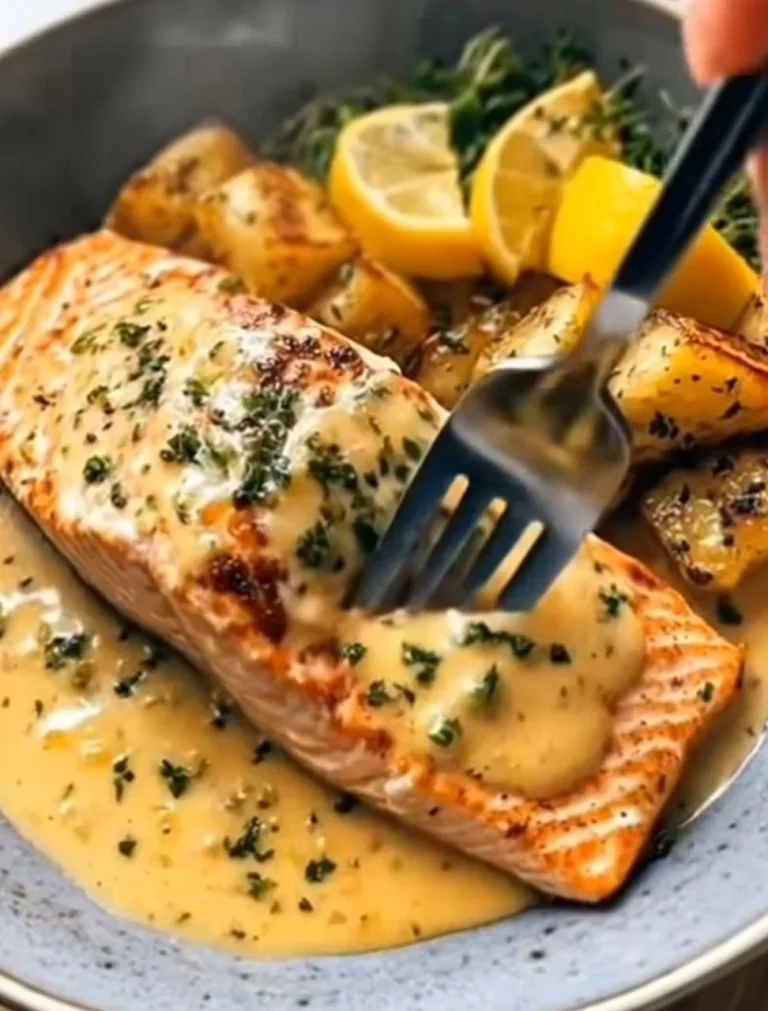
- Main Course with Sides – Plate with jasmine rice, sautéed vegetables, or coconut rice for a complete dinner.
- Cocktail Party Snack – Skewer each shrimp on toothpicks and serve as finger food with small cups of sauce for dipping.

How to Store Coconut Shrimp
While best enjoyed fresh, you can store leftovers:
- Refrigeration – Store cooled shrimp in an airtight container in the fridge for up to 3 days.
- Freezing – Arrange fried shrimp on a baking sheet, freeze individually, then transfer to a freezer bag. They’ll keep up to 2 months.
- Reheating – For crispiness, reheat in an oven at 375°F for 8–10 minutes or in an air fryer for 5 minutes. Avoid microwaving—it makes the coating soggy.
- Meal Prep Tip – Bread the shrimp ahead of time, freeze them raw, then fry directly from frozen when ready to cook.
- Dipping Sauce Storage – Most sauces can be stored separately in jars for up to a week in the fridge.

Mistakes to Avoid
- Using Small Shrimp – Tiny shrimp cook too quickly and don’t hold the crunchy coating well. Always use large or jumbo.
- Skipping the Flour Step – If you skip flour, the coating will slide off during frying.
- Overcrowding the Pan – Too many shrimp lower the oil temperature, resulting in greasy instead of crispy shrimp.
- Wrong Oil Temperature – Too hot burns the coconut; too cool makes it soggy. Keep oil steady at 350°F.
- Not Draining Properly – Always drain fried shrimp on paper towels or a wire rack to maintain crunch.
Tips and Tricks Of Coconut Shrimp Recipe
- Double Coating – For extra crunch, dip shrimp back into the egg wash and coconut mixture for a second layer.
- Mix Sweet and Unsweetened Coconut – This balances flavor beautifully without being overly sugary.
- Use the Air Fryer – For a lighter version, air fry at 375°F for 8 minutes, flipping halfway.
- Pair with Citrus – A squeeze of lime over fried shrimp cuts through the richness and adds brightness.
- Keep Warm in the Oven – If making large batches, place fried shrimp in a 200°F oven to keep crispy until serving.
- Homemade Dipping Sauces – Go beyond store-bought; make a quick mango salsa or creamy sriracha mayo for variety.

Variations
- Baked Coconut Shrimp – Instead of frying, bake shrimp on a parchment-lined sheet at 400°F for 12–15 minutes. Healthier, still crispy.
- Spicy Coconut Shrimp – Add cayenne pepper or chili powder to the flour for a fiery kick.
- Gluten-Free Coconut Shrimp – Use almond flour and gluten-free breadcrumbs in place of regular ones.
- Sweet Coconut Shrimp – Use sweetened coconut flakes and serve with chocolate or caramel dipping sauce for a dessert twist.
- Coconut Shrimp Curry – After frying, simmer shrimp in a coconut milk curry sauce for a heartier meal.
- Coconut Shrimp Salad – Serve shrimp over a bed of mixed greens, avocado, and mango for a light, refreshing option.
Conclusion
Coconut shrimp recipe is more than just a restaurant appetizer—it’s a dish that can bring fun, flavor, and flair to your home kitchen. With just a few simple ingredients and easy steps, you can create the same crispy, golden shrimp that you’d normally order out. From serving ideas to storage tips, avoiding common mistakes, and experimenting with variations, this recipe is versatile enough for any occasion.
Whether you want to impress dinner guests, whip up a tropical-themed meal, or enjoy a cozy family night, coconut shrimp delivers every time. Pin it, save it, and let this recipe become one of your go-to favorites when you’re craving something truly special.