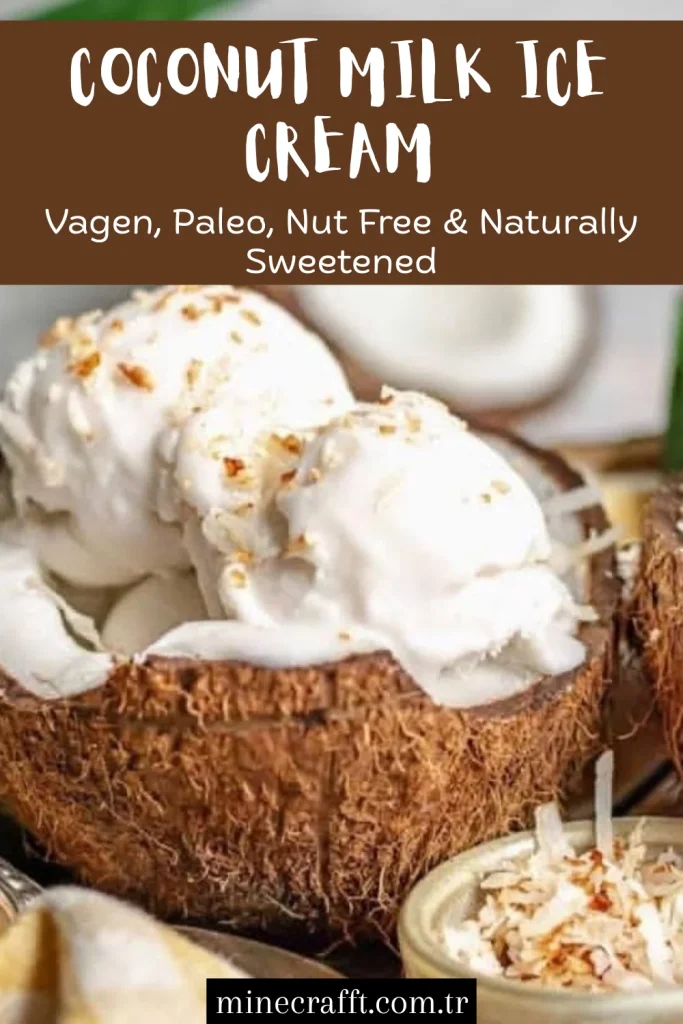
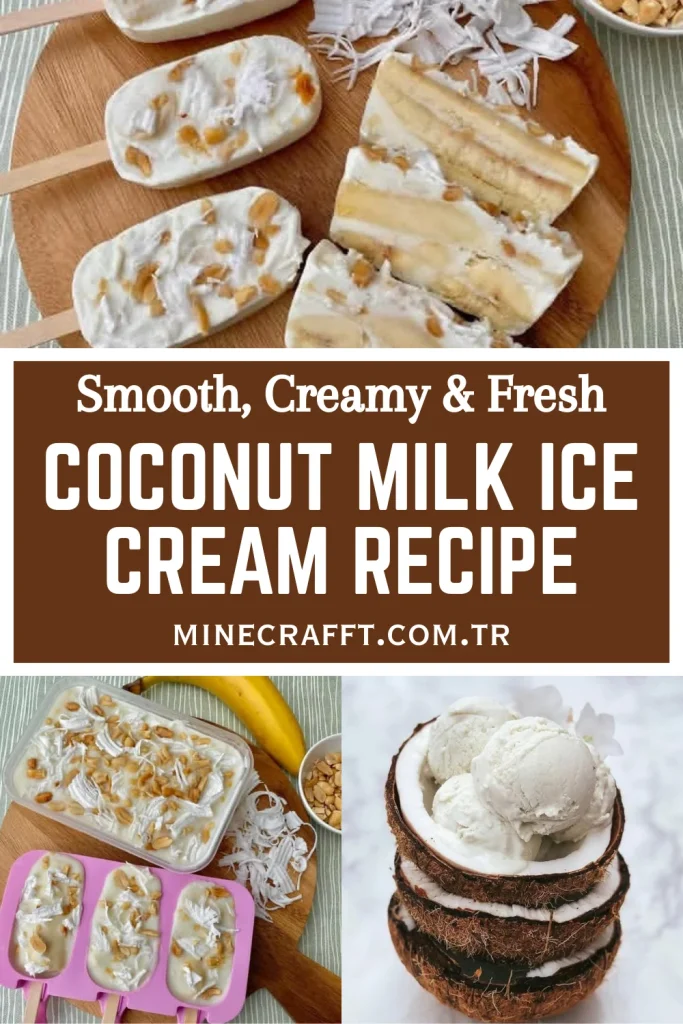
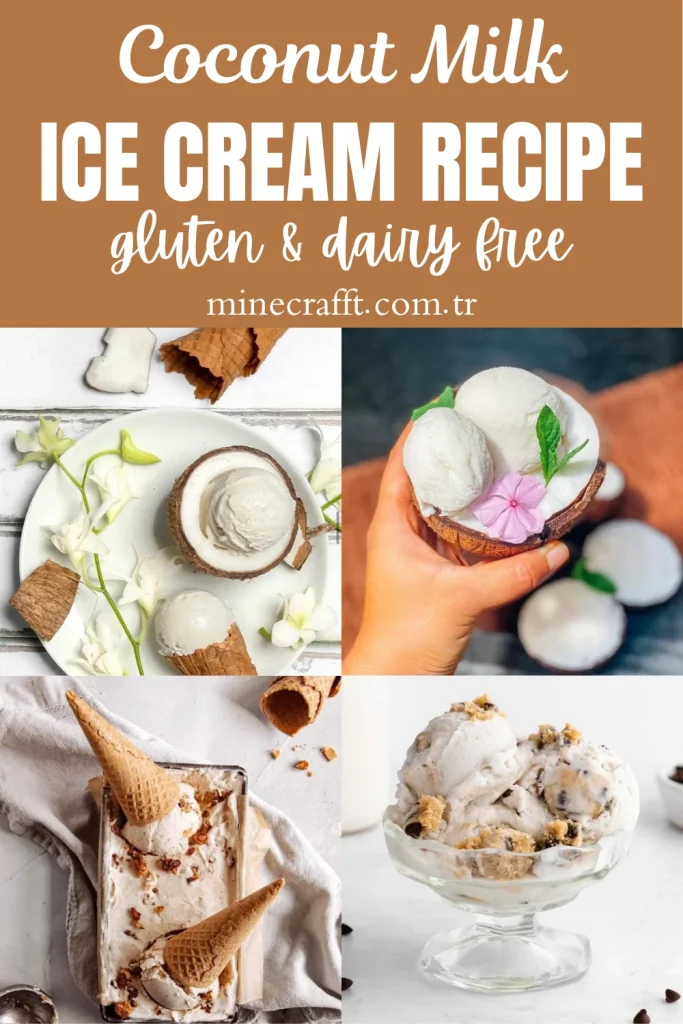
Homemade Creamy Coconut Milk Ice Cream Recipe – Dairy-Free, Healthy, and Easy to Make
There are some recipes that feel like a hug in a bowl, and homemade coconut milk ice cream is definitely one of them. Imagine creamy scoops of ice cream that melt on your tongue with a tropical sweetness, leaving behind the light fragrance of coconut—it’s not just a dessert, it’s an experience. In today’s world, where more people are turning toward healthier alternatives and dairy-free living, coconut milk ice cream has risen as a favorite treat. It’s naturally rich, indulgent, and yet surprisingly wholesome.
Whether you’re vegan, lactose-intolerant, or simply curious about trying plant-based desserts, this recipe is perfect for you. The best part? It requires just a handful of natural ingredients and can be made right in your kitchen without fancy equipment. From backyard summer parties to cozy movie nights, coconut milk ice cream fits every occasion.
In this article, we’ll explore everything you need to know: the essential ingredients explained in detail, a step-by-step guide to preparing coconut milk ice cream, tips for achieving the perfect creamy texture, and creative variations you can try. By the end, you’ll not only know how to make this recipe but also how to personalize it to match your cravings.
Also Read: Best Coconut Cream Pie Recipe
What is Coconut Milk Ice Cream?
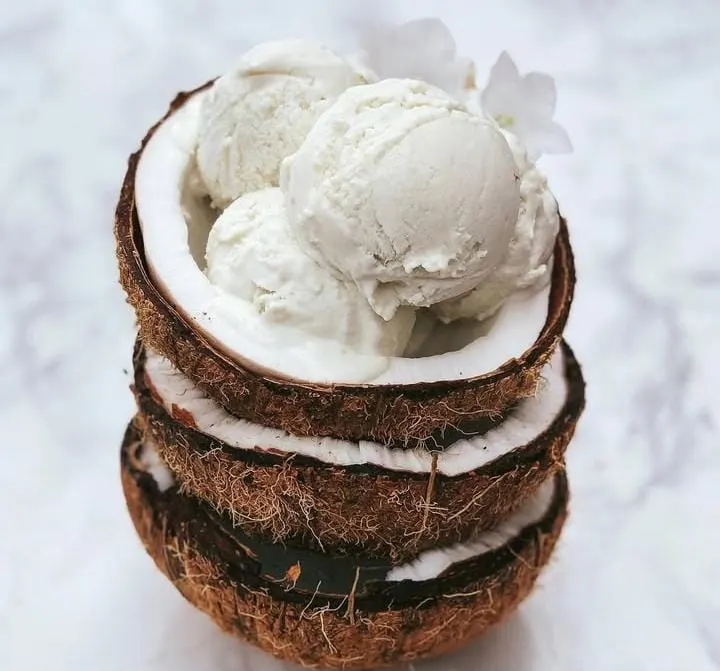
Coconut milk ice cream is a dairy-free frozen dessert made using coconut milk as the base instead of traditional cow’s milk or cream. Because coconut milk is naturally rich in fats, it creates a creamy and velvety texture that rivals any regular ice cream. It’s perfect for those following a vegan, paleo, or dairy-free lifestyle. Unlike store-bought ice creams that often contain artificial stabilizers, making it at home allows you to use natural, clean ingredients.
Coconut milk ice cream can be flavored in endless ways—vanilla, chocolate, fruit-based, or even spiced variations like cinnamon or chai. Its versatility makes it a wonderful canvas for creativity.
Main Ingredients Of Coconut Milk Ice Cream
1. Coconut Milk
This is the heart of the recipe. Use full-fat canned coconut milk for best results because it provides the creaminess needed for ice cream. Light coconut milk will make it icy instead of smooth. Shake the can well before using to combine the cream and liquid.
2. Sweetener
Natural sweeteners like maple syrup, honey (if not strictly vegan), agave nectar, or coconut sugar work well. Each one adds a unique depth of flavor. Maple syrup pairs beautifully with the nutty taste of coconut, while agave gives a lighter sweetness.
3. Vanilla Extract
Vanilla balances the coconut flavor and adds warmth to the ice cream. Always go for pure vanilla extract instead of artificial flavoring for a richer taste.
4. Salt
A tiny pinch of salt enhances the sweetness and brings out the natural flavors. It may seem small, but it makes a noticeable difference.
5. Optional Add-Ins
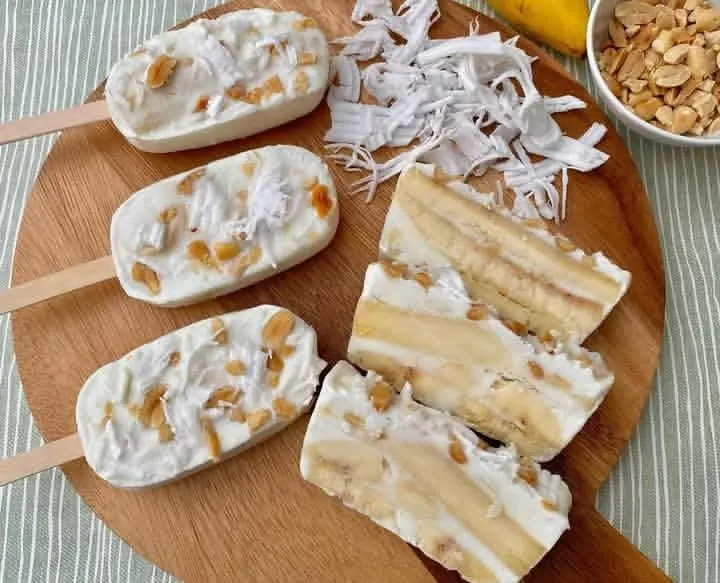
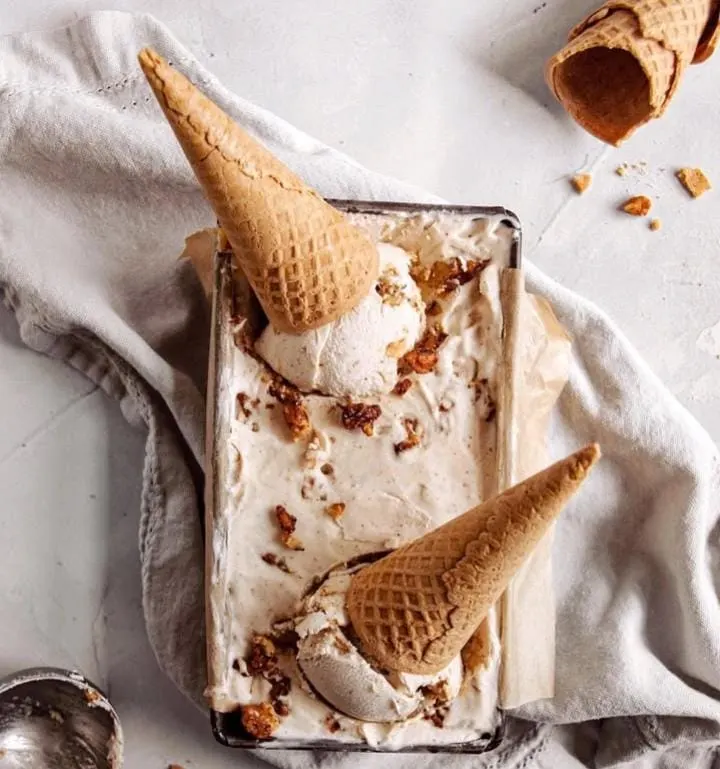
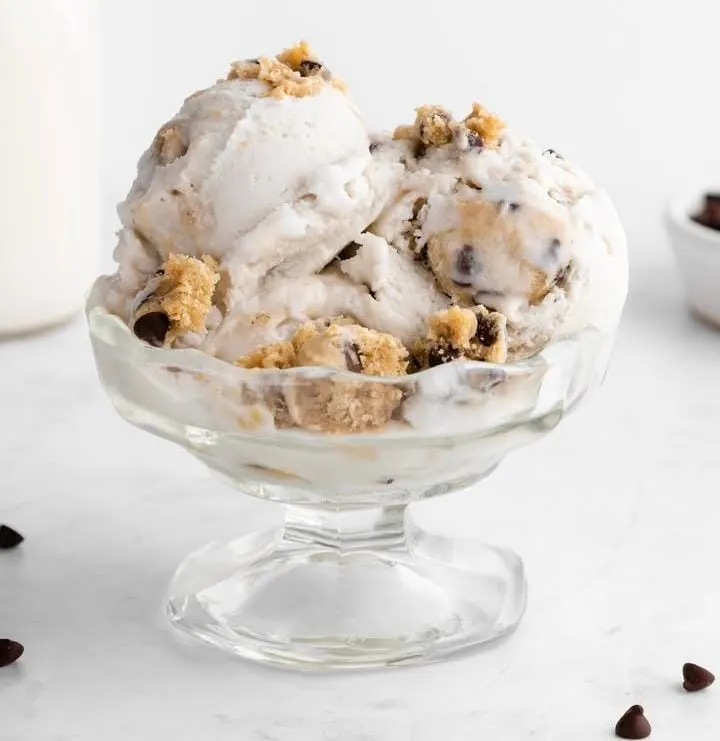
Chopped fruits, nuts, chocolate chips, shredded coconut, or swirls of nut butter can all be added for variety. These extras give personality and texture to your ice cream.
How to Prepare Coconut Milk Ice Cream – Step by Step
How to Prepare Coconut Milk Ice Cream – Step by Step
Making homemade coconut milk ice cream is not just a recipe—it’s an experience in transforming simple ingredients into a creamy, dairy-free dessert. The beauty of this process is that it doesn’t require professional skills or complicated equipment. With some patience and attention to detail, you can create a batch of smooth, flavorful ice cream that tastes just as good (if not better) than store-bought varieties. Let’s go deeper into every step so you understand not only what to do, but also why it matters.
Step 1: Chill Your Ingredients
The first step is all about preparation. Place your cans of full-fat coconut milk in the refrigerator for at least 8 hours or overnight. This allows the fat to solidify slightly and ensures the mixture is cold before whipping or churning. Cold ingredients prevent ice crystals from forming later and help maintain that luxurious creamy texture.
Pro tip: Don’t shake the cans before chilling. Once chilled, you’ll notice a thick cream on top and some liquid below—this is normal. Use both parts in the recipe for a balanced texture.
Step 2: Prepare the Ice Cream Base
Pour the coconut milk into a saucepan. Add your chosen sweetener—maple syrup, honey, agave nectar, or even stevia if you want a sugar-free version. Stir in vanilla extract and a small pinch of salt. Heat gently on medium-low, stirring often, until the sweetener dissolves and the mixture becomes smooth.
You don’t want it to boil, because overheating can separate the fats in coconut milk, making the texture grainy. The goal here is to let the flavors meld into a harmonious base.
Pro tip: If you want flavored ice cream (like chocolate or coffee), this is the stage to add cocoa powder, melted chocolate, or espresso powder so they blend evenly.
Step 3: Cool the Mixture
Once your base is ready, remove it from the heat. Let it cool on the counter until it’s close to room temperature. Rushing this step by placing a hot mixture directly in the freezer can cause uneven texture and crystallization.
After it cools, transfer it to a bowl, cover, and refrigerate for at least 3 hours or overnight. The colder the base, the smoother your final ice cream will be.
Pro tip: Patience pays off here. If the base is not cold enough, your ice cream may turn icy instead of creamy.
Step 4: Churn the Ice Cream (if using a machine)
If you own an ice cream maker, this step is simple. Pour your chilled mixture into the machine and churn it according to the manufacturer’s instructions, usually around 20–25 minutes. You’ll notice the mixture becoming thick, fluffy, and almost soft-serve like.
The churning process incorporates air, which prevents ice crystals and gives that smooth, scoopable texture you expect from ice cream.
Step 5: Freeze Without a Machine (Manual Method)
If you don’t have an ice cream maker, don’t worry—you can still achieve good results. Pour the chilled mixture into a shallow, freezer-safe dish. After 30–40 minutes in the freezer, stir vigorously with a fork or whisk to break up ice crystals.
Return it to the freezer, and repeat the stirring every 30 minutes for the next 3–4 hours. This hands-on method mimics churning and helps keep the texture creamy.
Pro tip: Using a hand mixer or immersion blender during stirring makes the process easier and smoother.
Step 6: Add Your Mix-Ins
About halfway through the freezing process (or in the last 5 minutes of churning, if using a machine), fold in your desired add-ins. This could be chopped chocolate, crushed nuts, fruit chunks, or swirls of nut butter.
Folding at the right stage ensures that the add-ins don’t sink to the bottom and remain evenly distributed.
Step 7: Final Freeze and Storage
Transfer your ice cream into an airtight container. Smooth the top with a spatula and press a piece of parchment paper or plastic wrap directly on the surface before closing the lid—this prevents ice crystals from forming. Freeze for 2–4 hours if you want scoopable ice cream.
Pro tip: Homemade coconut ice cream tends to firm up more than store-bought. Let it sit at room temperature for 5–10 minutes before scooping for the perfect texture.
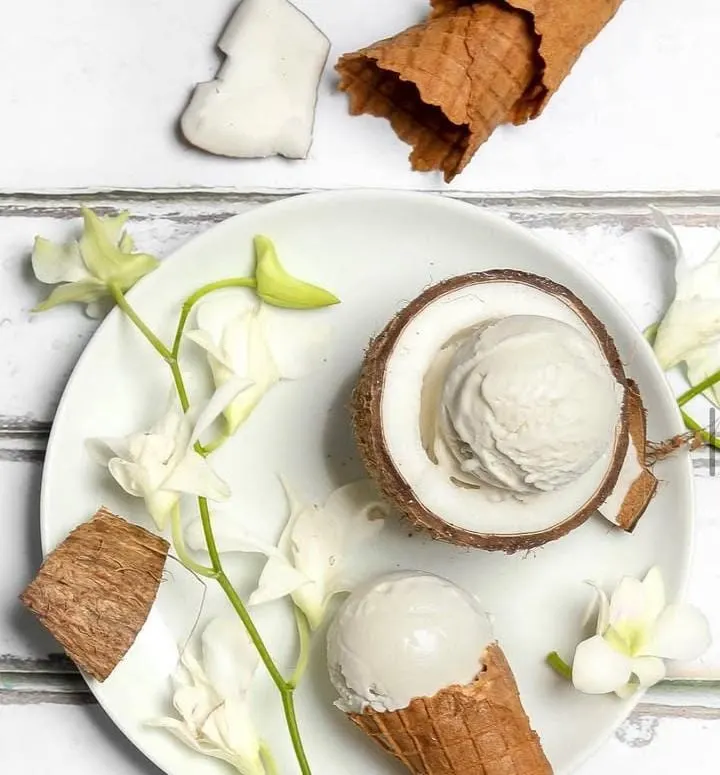
Step 8: Garnish and Serve
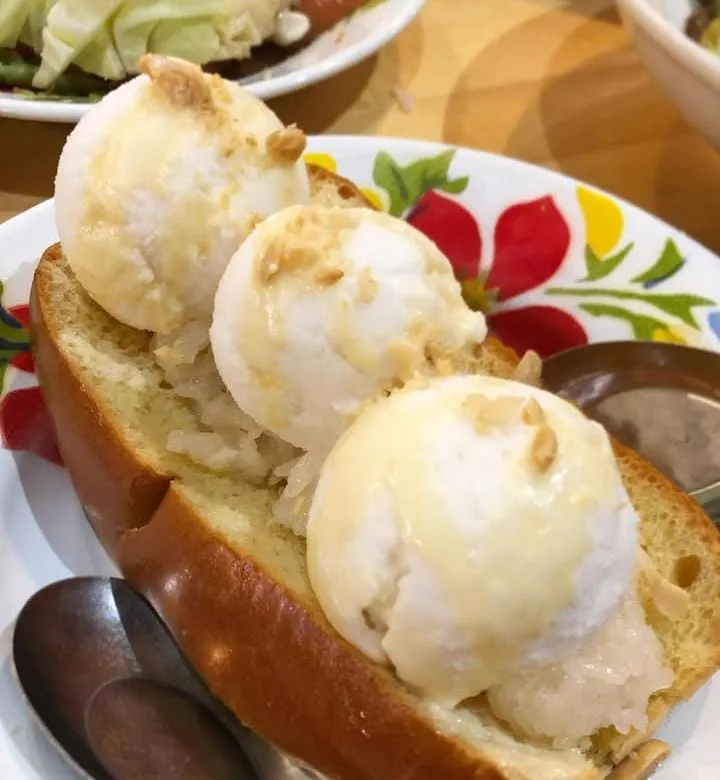
When ready to serve, scoop into bowls, cones, or even use it as a topping for brownies, pies, or fruit salads. Garnish with toasted coconut flakes, a drizzle of chocolate sauce, or fresh fruit for a more gourmet touch.
This final flourish turns a simple ice cream into a memorable dessert.
Mistakes to Avoid When Making Coconut Milk Ice Cream
- Adding mix-ins too early – they may sink or freeze into hard clumps.
- Using low-fat coconut milk – it won’t give you the creamy texture; always choose full-fat.
- Skipping the chilling process – warm bases lead to icy results.
- Overheating the mixture – causes coconut fats to separate.
- Not breaking ice crystals often enough (if no machine) – this makes the ice cream hard and icy.

Variations of Coconut Milk Ice Cream
1. Chocolate Coconut Milk Ice Cream
Melt high-quality cocoa powder or dark chocolate into the base mixture while it’s warming. The coconut milk enhances the richness of chocolate, creating a decadent treat. Top with cocoa nibs or chocolate chips for extra crunch.
2. Mango Coconut Milk Ice Cream
Puree fresh ripe mangoes and fold them into the cooled base before freezing. This creates a tropical blend of flavors that’s refreshing and naturally sweet. Garnish with mint leaves for a summer-perfect dessert.
3. Strawberry Swirl Coconut Milk Ice Cream
Simmer strawberries with a little sugar until they form a syrup. Swirl the syrup through the ice cream base before freezing for a fruity, colorful treat.
4. Coffee Coconut Milk Ice Cream
Add strong brewed coffee or instant espresso powder to the base for a dairy-free coffee ice cream. Perfect for coffee lovers who want a creamy pick-me-up.
5. Coconut Almond Crunch
Fold in toasted almond slices and shredded coconut for texture and a nutty twist. Drizzle with sugar-free chocolate syrup for a “candy bar” feel.
Conclusion
Homemade coconut milk ice cream proves that dairy-free doesn’t mean sacrificing flavor or texture. With just a few simple ingredients and some creativity, you can craft a dessert that’s creamy, satisfying, and entirely customizable. Whether you enjoy it plain with vanilla, jazzed up with chocolate, or swirled with fruit, this recipe is sure to become a household favorite.
Next time you crave ice cream, skip the store-bought tub and make your own. Not only will it taste fresher, but it will also be free from artificial additives. Save this recipe, try out the variations, and share it with friends and family—they’ll never guess it’s dairy-free.